Recently the Beehive was granted the exciting privilege of a private visit to the Art Gallery of Hamilton’s exhibition Quilts! A Gift from Carole and Howard Tanenbaum to the Textile Museum of Canada. As pretty much all of us are textile superfans, we gazed with reverence at the 17 quits on display, marveling at the textures, colours and skilled handwork at play in these Canadian, American and British works dating back to the 1830s.
Though many of their makers are unknown (and were certainly not releasing artist statements!) , the quilts in their distinctiveness inspired us to try to imagine the thought process involved in creating them. Pieced Quilt (1880) for example appears to have no rhyme or reason in the colour placement - the maker seemingly having worked their way through their scrap pile, moving on to one fabric as they ran out of the last. Randomness in this and other quilts through the interruption of pattern (or lack thereof) has very personal and charming effect. Equally charming are the backs of the quilts, which we attempted to sneak peeks at wherever we could and oohed and ahhed at the boro-like patchwork or sweetness of a simple cotton paisley.
Some quilts appear to have been made with a more distinct vision, or boast luxury fabrics such as brocades, printed silks, and patterned velvets. Pieced Quilt with Sawtooth Stars and Diamonds Pattern (1836) is a particularly stunning example of a quilt made with naturally dyed silk (prior to the invention of synthetic dyes 20 years later) and has maintained a rich colour palette of purples, maroons, greens and reds. The crazy quilts - irregular patchwork quilts joined through decorative embroidered borders - incorporate many different luxury fabrics as well pieces of cultural history such as Crazy Quilt in 30 Blocks (1885) which includes a ribbon showing the "Great Bridge - length 5989 feet" aka the Brooklyn Bridge which was completed in 1883.
As the quilts range from having been completed in the 1830s to the 1950s, there is some textile history to be learned in this exhibit as well. While earlier English quilts tended to start with a central medallion then finish with a distinctive border (much like an oriental carpet, as seen in Framed-medallion Quilt (1850)), by the second half of the 19th century, quilters began to structure them as a series of blocks arranged in a grid - making them easier to sew as smaller blocks could be made individually and joined later. This style of quilting is much more common today than the more labour intensive method of assembling the quilt from the centre outward. The topic of labour and time came up frequently amongst us Bees as we tried to imagine how many hours must have been invested and wondered how the makers found the time. In our current age of the instant the amount of time invested in the more complex quilts is almost unfathomable and something to be admired.
Though originally intentioned as functional pieces, the Tanenbaums (skilled art collectors) were clearly drawn to these quilts based on their aesthetic impact and artistry. In placing them on the gallery walls, we are asked to re-examine our relationship to these domestic objects that are so frequently lumped in with the curtains or the welcome mat - to consider them as works of art. These are not simply quilts, they are Quilts!
Quilts! A Gift from Carole and Howard Tanenbaum to the Textile Museum of Canada
On view until January 15, 2012
Art Gallery of Hamilton
123 King Street West | Hamilton ON | L8P 4S8
T: 905-527-6610
E: info@artgalleryofhamilton.com
artgalleryofhamilton.com
Photos by Hollie
Friday, 16 December 2011
Wednesday, 23 November 2011
Knit Nights at the Brain: Make Do & Mend
Earlier this month, a number of us Bees had the pleasure of attending a special edition of Knit Nights @ the Brain: Make Do & Mend. The evening was lead by the multi-talented and master mender, Becky Johnson, who to our delight agreed to stop in on Knit Night to share her mad mending skills, just in time for the chilly season ahead of us.
Armed with tins full of darning yarn and materials, Becky shared two mending techniques used to tackle the most daunting holes: classical darning, and swiss darning.
Classical darning is a mending technique that's used to repair existing holes in knits. This method is done by using an embroidery needle and yarn (of a weight that's similar to the knit being repaired) to create a warp between the two strongest rows on either side of the hole. The next step is to weave yarn through the warp, creating strong woven material that patches the hole, as well as reinforces the stitches around the damaged area so that the knit ceases to unravel. While the concept is easy to grasp, the real trick lies in creating a patch that matches the same weight and tension as the knit material below; too tight and the knit may bunch; too loose and the knit may sag. A darning egg helps in this process by providing a nice flat surface to work on, but a lightbulb (or even beer bottle, as was the case that evening!) would also do the trick, DIY style.
Most of us Knit Nighters focused on classical darning for the evening, but those who finished their repairs graduated to swiss darning -- a method of mending that's used to reinforce weak spots in woollens, not holes. In basic terms, swiss darning (also called the duplicate stitch) is done by threading new yarn through the knit, following the path of the existing knit stitches. Doing this strengthens the knit, thus preventing impending holes.
Unfortunately I didn't nab any swiss darning action photos, but I highly recommend checking out Becky's blog for some fantastic examples of her swiss darning, and other mending projects. (Sidenote: this is why I refer to Becky as master mender -- look at those socks!) Also worth checking out is this duplicate stitch video - a straightforward visual tutorial on swiss darning.
It was a pretty cozy Wednesday night at The Brain, and it was so nice to spend the evening learning a new craft, with both familiar and new faces. A super special thank-you goes out to Ms. Becky Johnson, for teaching us how to fix all the little (or large!) holes in our woolly lives.
Thursday, 10 November 2011
Aviator
I always get excited when summer draws to a close and my most favorite season approaches. Fall has so many great things. Wool sweaters, apple picking, garden harvest, warm drinks, fires in the wood stove, and Halloween!
Growing up, my mom would make us the best homemade Halloween costumes - Pigs in Space, Frogs, Toasted Westerns, Pippi Longstockings, Care Bears, She-ra, and so on.
Now, as a mother myself I pride myself in making the coolest costumes for my kids (at least, what I think are cool). It sometimes takes some negotiating, to convince my three year old that he doesn’t want the generic store bought Halloween get up. And I always wait in anticipation to see if the tough critics will approve. Last year they wouldn’t put on their Red Riding Hood and Big Bad Wolf costumes until the actual day, and I am not going to lie, I was a bit worried.
So after convincing my son this year to be an Aviator, I got worried when he told me he was going to be a kitty cat or Wall-E only days before the big day. Luckily we both came through and the costume was not only simple but I’d say a hit.
I made the hat out of vinyl lined with fleece, I made a rough pattern and then shaped it to his head for a perfect fit. I borrowed my friends snap press to add a few finishing touches.
The goggles are a pair of welding goggles we had laying around the house (I just took out the darkening lenses). I found the almost perfect fitting jacket at a local thrift store added a fleece collar and pilot patch to the sleeve. A scarf and a mustache were finishing touches to our simple but very cool costume.
Wednesday, 26 October 2011
The Bees at Home: Projects in Progress
Our blog has taken you to the farm, to knit night, and to our planning meetings, but we thought it might be about time to show you some of the crafty things us Bees work on in our spare time. Most of the time, we've all got something (or a few things!) in progress at home, so we're going to start showcasing them on the blog a little bit! Hopefully this will give us more motivation to get these projects finished, and maybe inspire you to start (or finish?) a project you've had on the go as well!
First, Kate is working on an assignment for her program at Sheridan - embroidering a number of fashion related pieces. She's working them into this AMAZING dress she designed, which she'll then have modeled and photographed to create a look-book:
Second, Meg is working on an alphabet crewelwork sampler. Using all the standard stitches, this piece is interesting and enjoyable, and will likely take a while to complete. Every letter is totally different, and the colors are super fun!
Next, our east-coast member, Anna, has been naturally dyeing some silk. The growing seasons in Nova Scotia are a little shorter than in Ontario, so when she moved back there recently she managed to just catch the end of the Goldenrod flowers. Anna dyed a piece of satin silk tied up with shibori knots (see second picture). Anna said that the color was very subtle, but a lovely muted yellow-green came through and with a simple rolled edge it will make an elegant scarf.
Last, Hollie has been working on a quilt! This is her first attempt at one, and she started all the way back in January with the guidance of quilting pro Melanie. Progress was halted due to a busy summer and a finicky old sewing machine. She recently acquired a new-to-her machine for her birthday and has been getting back at it. She chose bright and busy fabric and a simple half-triangle design for her first quilt. She's looking forward to finishing it any day now!
So, there's a little sneak-peek into some of our current projects! If you've posted your progress on a piece you've been tackling, feel free to link to it below, as we'd love to see! Happy crafting!
Thursday, 20 October 2011
Real Bees!
It's no secret that we're big fans of bees over in these parts. Within the last couple of years, I personally have taken a great interest in beekeeping, and dream of one day having a backyard hive of my own. When our friend Brandi decided to put bees up on the farm that we all help out on, it was like a dream come true. I was lucky enough to help Brandi, along with our friend Sean, with her first ever honey harvest a couple of weeks ago.
Oh, and just a little sidenote before we get into it - Brandi is an actual descendant of Old MacDonald. As in, Old MacDonald had a farm. Ee i ee i o. Pretty perfect for a modern beekeeping farmer, no?
Brandi has two colonies up at the farm. The first one she got in the early Spring, and the second one she added mid-Summer. It's seemed as though it was a productive year for the bees, but being Brandi's first year she wasn't sure what to expect. The three of us got together on a rainy afternoon ready to work like worker bees.
After Brandi removed the honey supers from the hives and brought them to the barn, the next step was to remove the layer of beeswax that the bees cap the combs with once they are full of honey. We took turns doing this carefully with hot knives. You can buy high-tech beekeeping electric knives that stay continually hot, but a kettle full of boiling water did the trick well enough for us.
The frames were then put into the extractor that Brandi borrowed from her fellow beekeeper friend Jess. An extractor works by placing the frames within a barrel, and then spinning them around. This removes the honey by flinging it out and allowing it to collect at the bottom of the barrel, while doing no damage to the frames so that they can be used again in the hive.
While we watched the motor running on the extractor, Sean (owner of Downtown Bike Hounds, and a serious bike enthusiast) came up with the incredible idea of making our own extractor powered by the pedals of a bike. Maybe next year that's how we'll be doing things.
And then liquid gold poured out when we opened the spigot at the bottom of the extractor drum.
At this point, the honey is still full of small bits of wax and other debris, so it is poured into food grade containers with very fine filters, and is left to drip drip drip slowly over a period of days. It was impossible for us not to sample the goods at this point, and man oh man, I've never had better honey in my life. Sweet and floral and fragrant. We wanted to bathe in it.
Between her two hives, Brandi ended up with around 12 gallons of honey from her harvest. Not too shabby! And really, the bees did most of the work! I'm so grateful to Brandi for letting me help out and learn some of the ropes of harvesting honey. Now all I have to do is convince my husband to let me put that (illegal) backyard hive in our yard.
Tuesday, 27 September 2011
Beehive Excursions: The Toronto Garlic Festival
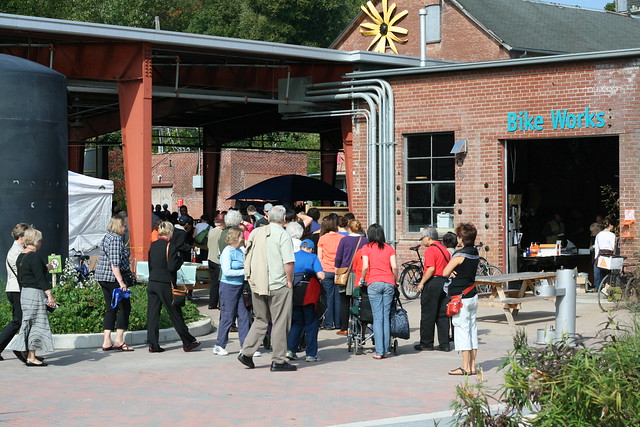
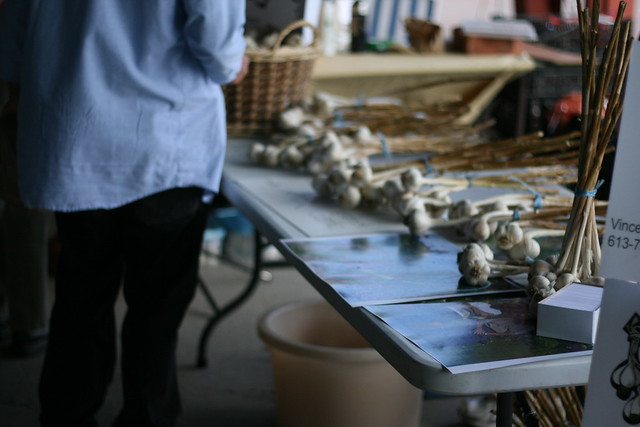
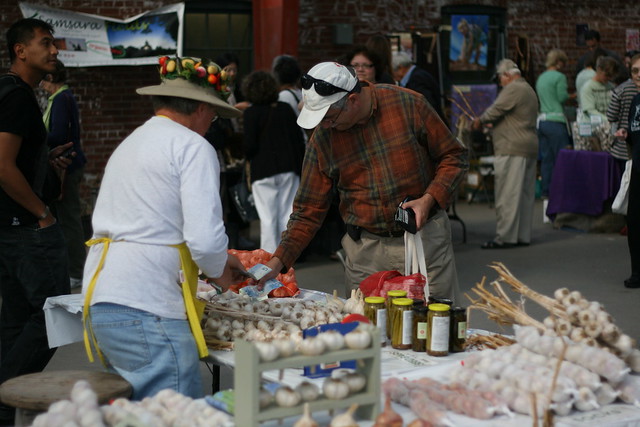
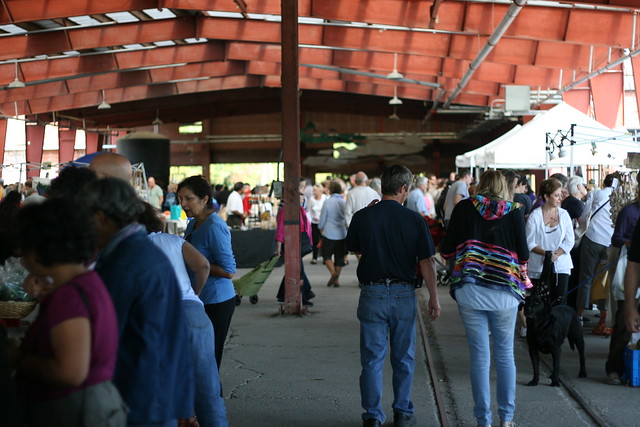
This past weekend, I visited the first annual Toronto Garlic Festival at The Brick Works. Many of us Bees have been very excited about garlic this summer. There was a really good crop of it at the farm, and we've been enjoying it in almost everything we cook. We've also been dreaming about making our own garlic braids. We've learned a fair bit about it, and I think we'll be giving it a try next summer.
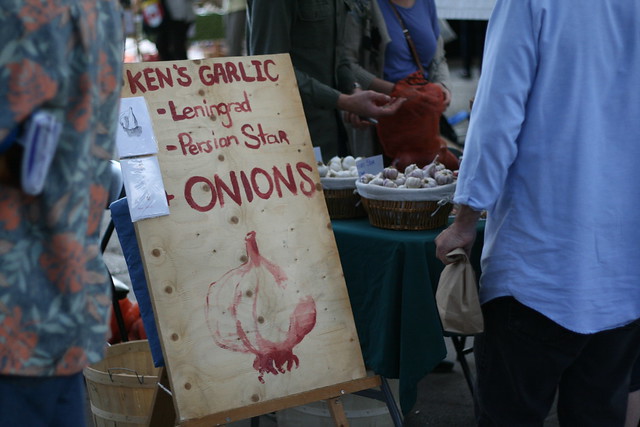
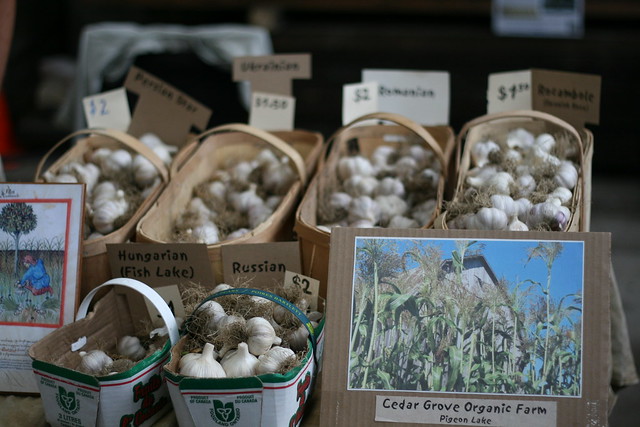
Who knew that there were so many varieties of garlic?? The number of types of garlic was almost overwhelming! It seems that "Music" is the most common variety in Ontario. It has large cloves, is quite flavourful, and stores well. We picked up a number of different types, and plan to plant some in our garden this fall.
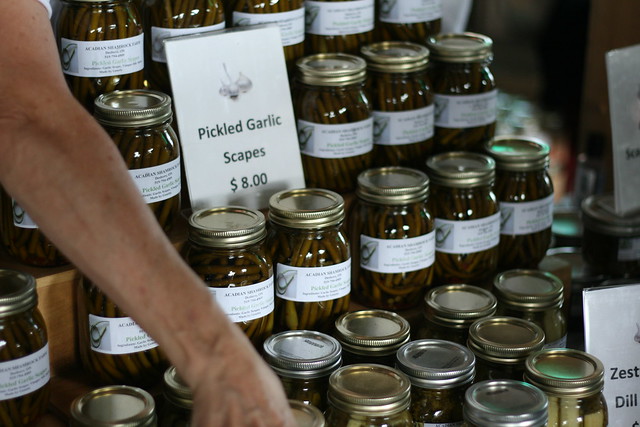
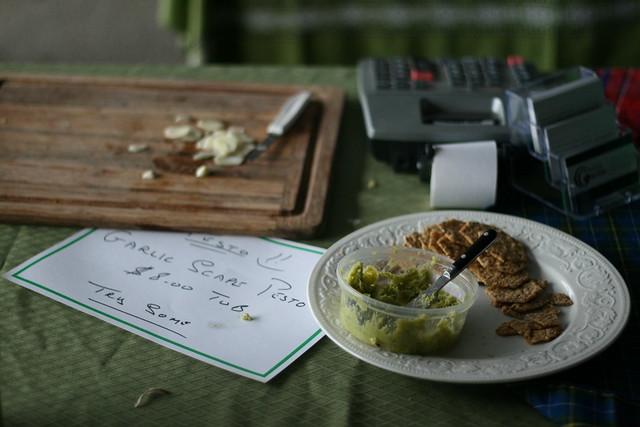
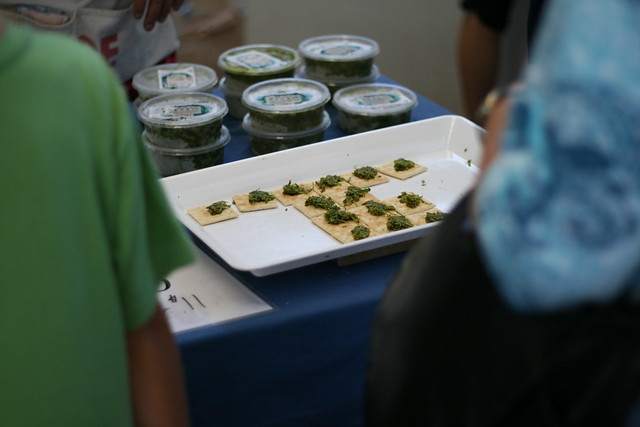
Mmm, pickled garlic scapes. We discovered garlic scapes this summer and became absolutely obsessed! They are the leafless flowering stem that comes from the plant, which are removed so the plant focuses it's energy on bulb growth. They are so delicious lightly sauteed in some butter and served as a side dish. Or just eaten straight out of the pan. Or you can make a tasty pesto with them.
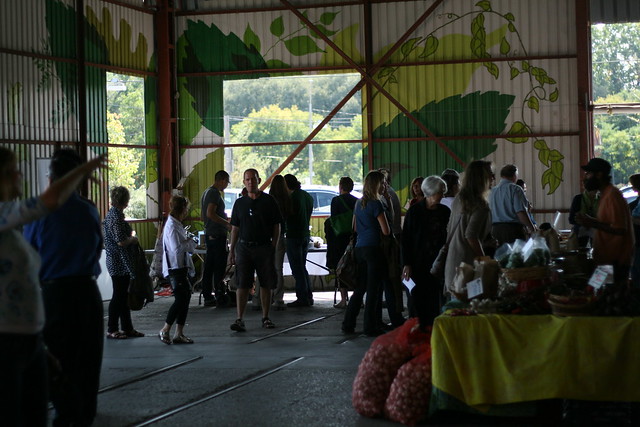
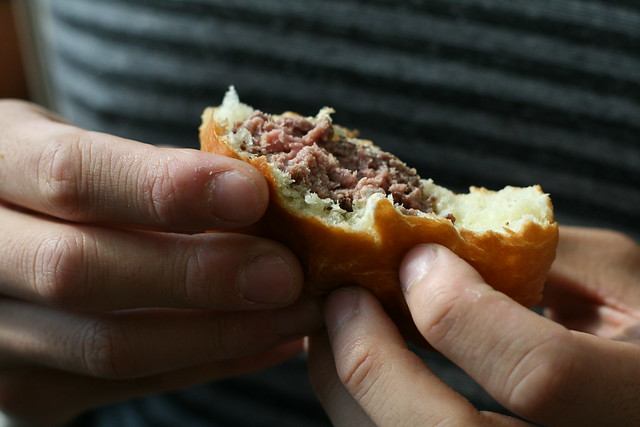
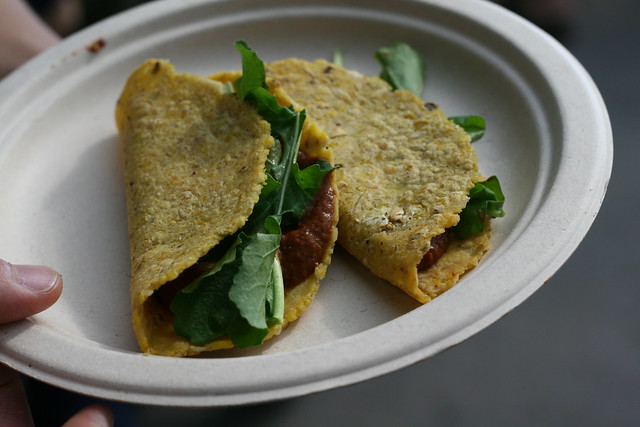
In addition to the braids and bunches and bags of garlic you could buy, there was also a selection of delicious food containing garlic to eat. Needless to say, we had extreme garlic breath by the end of the day. But it was ok, because so did everyone else.
Subscribe to:
Posts (Atom)